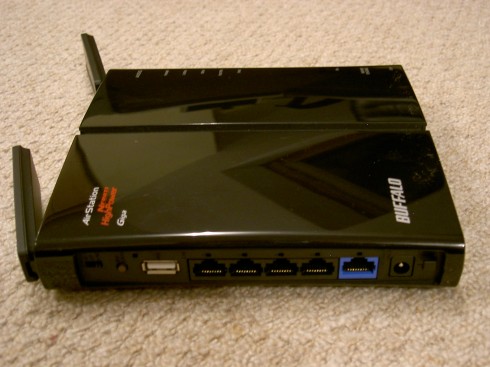
This Buffalo WHR-HP-G300N is a very good wireless router. This model is quite old for now. This entry is for reference only.
I use 2x Buffalo WHR-HP-G300N with DD-WRT firmware (official from buffalo) which I will call the MASTER and the SLAVE.
- Note:
- ○ To ease the pain, you should reset factory and start from beginning.
- ○ For the first time config the router, you have to set the username/password of the router.
- ○ There’re a small switch that turn on/off router function on the back. You should switch to ON.
- ○ You hit APPLY only when you finish config the MASTER or SLAVE, otherwise hit SAVE
———————————————–
Config MASTER:
- Connect adapter to wall power
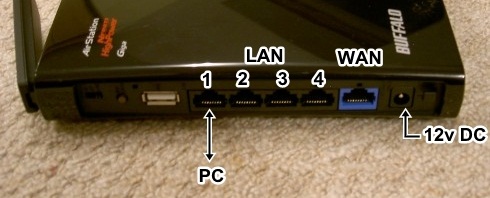
- Connect your computer to port LAN 1 of the MASTER using LAN cable
- Open Chrome / Firefox / IE, browse the address: 192.168.11.1
- Setup -> Basic setting:
[INDENT]Connection type: Automatic configuration - DHCP - You want it to work as a router
Other setting like Host name, domain name, blahblah… change it? Your call.
Set the LAN ip address: 192.168.11.1 (by default)
[/INDENT] - Wireless -> Basic setting:
[INDENT]
Interface ath0:
Wireless mode : WDS AP - MASTER work as host
Wireless name SSID: Bridge - Name whatever you like, coz’ this is just for the SLAVE
Wireless SSID broadcast: Disable - You don’t want anyone to see this
Add Virtual Interface ath1:
Wireless mode : AP
Wireless name SSID: wifi-A - You will see this
Wireless SSID broadcast: Enable
[/INDENT] - Wireless -> Security setting:
[INDENT]Interface ath0:
Set it as WPA2 - AES
Key: dummykey - Just for the SLAVE only
Interface ath1:
Set it as you want your network will be.
For me it is: WPA2 - AES + TKIP,
Key: stopthefreeloader[/INDENT] - Hit APPLY.
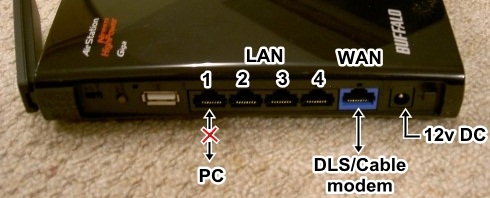
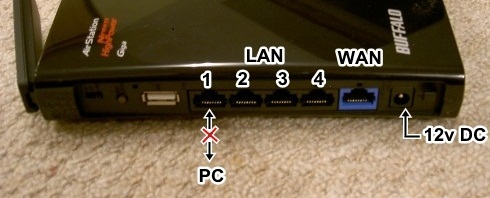
- Disconnect the LAN cable which connect your PC with LAN port 1 of MASTER.
- Connect LAN port of adsl / cable modem to WAN port of MASTER.
You have done with the MASTER. Now to the SLAVE
———————————————–
Config SLAVE:
- Connect adapter to wall power
- Connect your computer to port LAN 1 of the SLAVE using LAN cable
- Open Chrome / Firefox / IE, browse the address: 192.168.11.1
- Setup -> Basic setting:
[INDENT]Connection type: Disable - Turn off the router function, you don’t want it
Other setting like Host name, domain name blah blah… change it? Your call, you won’t see it anyway :D
Set the LAN ip address: 192.168.11.254 - Must not conflict with the MASTER’s IP
So, you need to config the MASTER, go 192.168.11.1
Otherwise, config the SLAVE, go 192.168.11.254
[/INDENT] - Wireless -> Basic setting:
[INDENT]Interface ath0:
Wireless mode : WDS Station - This is the SLAVE work as Client
Wireless name SSID: Bridge - Must be the same as ath0 of MASTER
Wireless SSID broadcast: Disable - You don’t want anyone to see this either
Add Virtual Interface ath1:
Wireless mode : AP
Wireless name SSID: wifi-B- You will see this
Wireless SSID broadcast: Enable
[/INDENT] - Wireless -> Security setting:
[INDENT]Interface ath0
Set it as WPA2 - AES
key: dummykey - Must be the same as MASTER
Interface ath1
Set it as you want your network will be.
For me it is: WPA2 - AES + TKIP
Key: stopthefreeloader[/INDENT] - Hit APPLY, and wait a few minute for the SLAVE connect to the MASTER.
- Disconnect the LAN cable
Now you can access the internet from both wifi-A and wifi-B. And you can bring the SLAVE around your home to extend the wireless to that area.
Enjoy!
[tag]buffalo wifi dd-wrt[/tag]


